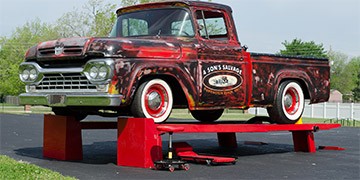
Using The Kwik-Lift

Step 1, Place Lift Tube in the “DOWN” position. Align ramp width with the width of front tires.
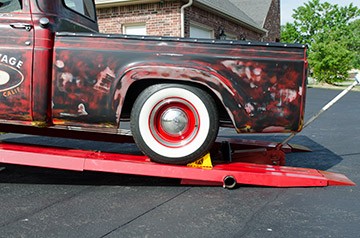
Step 2, Drive on Kwik-lift at slow speed. Position front tires within 1 to 2 inches of Front Safety Stops.


Step 3, Place transmission in park or low gear (manual trans). Set parking brake. Exit car.
Step 4, Place wheel chocks behind tires. Scotch tightly. Pivot Lift Tube to the “UP” position.
Step 5, Roll floor jack under center of lift tube. Use jack with 4 inch or larger saddle. Position “TEETH” 2 in front and 2 behind lift tube. (Make certain that jack is designed to accommodate the weight of your vehicle and the Kwik-lift. (Refer to the specifications from the jack manufacturer.)
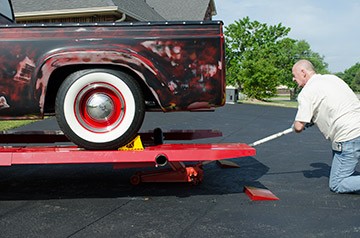
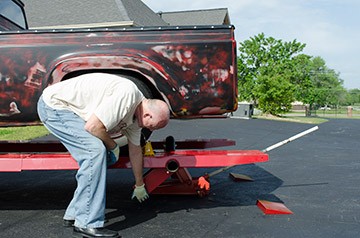
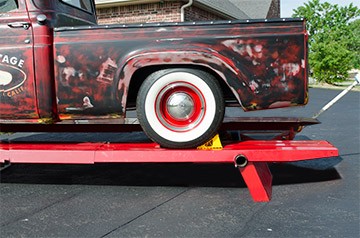
Step 6, Make certain that jack is securely positioned under lift tube. Jack up unit to 19″ height. Pull spring loaded lock pin on rear ramp and lower rear leg. Push leg back beyond vertical position, to a rearward angle, locking leg in place. Repeat process for other side. (CAUTION – MAKE CERTAIN THAT REAR LEGS ARE LOCKED SECURELY IN THE REARWARD POSITION)
Step 7, Lower jack very slowly until rear legs are securely on floor. (CAUTION – REPEATED SUDDEN DROPS ONTO REAR LEGS WITH VEHICLE ON LIFT COULD RESULT IN REAR LEG FAILURE OR REAR LEG SAFETY STOP FAILURE)
Step 8, Kwiklift is now ready for use, enjoy.